I'm going to keep this sort and sweet since my wrist is aching from 48 hours of sanding and painting and painting again. I'm thrilled with the result even though it's probably not quite finished. I feel as if it needs a bit of extra style. Don't know what yet. We'll get there. Anyway, let's start with a small after pic, just to keep you interested:

Ready for the Before?

Just in case you forgot.

Goodbye Peter!

You're next, captain...

Sanding is super fun

Until you realise two different types of paint were used and that one kind is easy to get off while the other is not, and you end up peeling it off centimetre by centimetre.
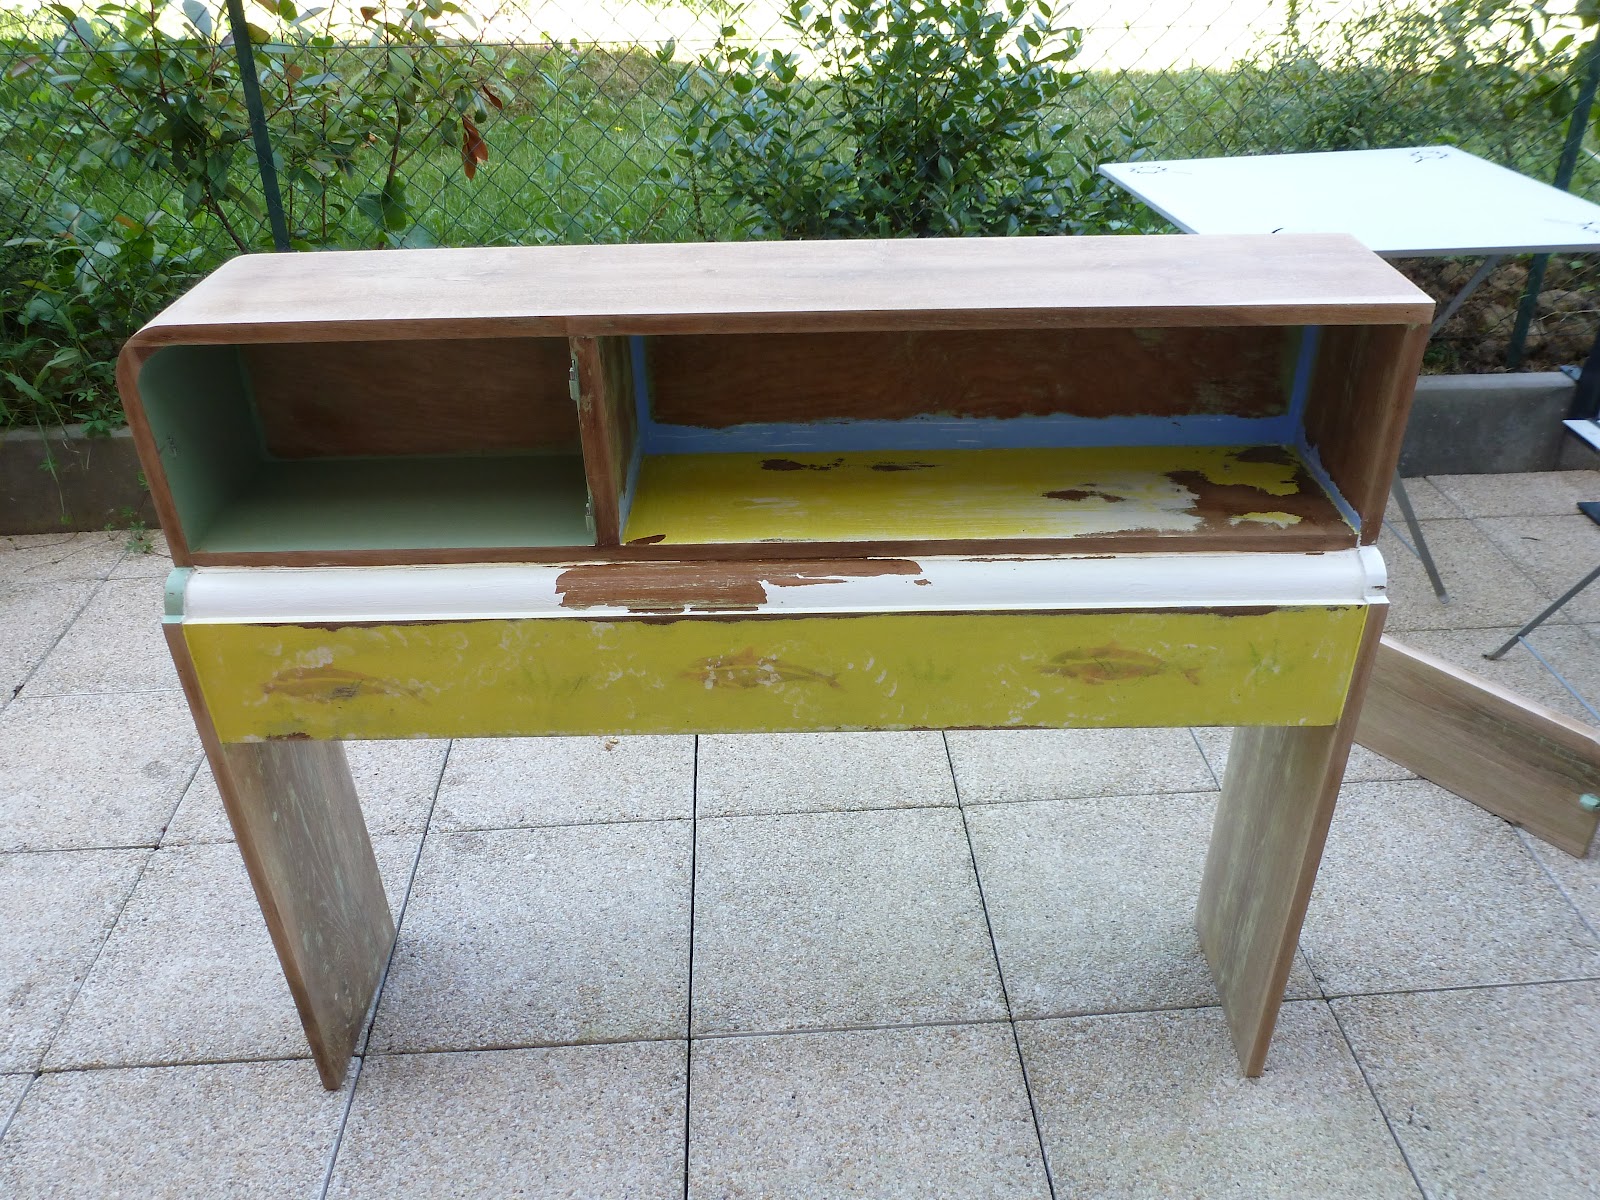
Three hours later...

FIVE hours later!!! I didn't get all the paint off but I got most of it and made sure all surfaces were smooth. I was surprised when I saw the wood, I think it's oak, really beautiful solid oak. If I had been able to get all the paint off I might have left it as it was and not painted it, but I didn't dare break out the sander for a second day running, the neighbours would have killed me.
Also by this time I was starting to wonder about sprained wrists, so I called it a day.
The next morning I got back to work.

After FOUR coats of paint I finally started to see results.
 It was so hard to paint the inside of the shelves that I thought painting them grey would require fewer coats because I would get better coverage. Boy was I wrong. The grey paint refused to stick to the white paint. Some parts have got to be sporting 8 or 9 coats of paint. Oh well, it looks nice like that, right?
I let it cure for a few hours while I napped like an old granny, then I carried it inside for the fun part.

I was going to place it at right angles with the wall to create a mini counter that would separate the kitchen off from the dining area, but I tried it and it looked a bit strange. So this is where it's living at the moment, but it might move around a bit more while I make up my mind.


Like?
No comments:
Post a Comment